Overview
Raspberry Pi display projects look simple at prototype stage, but small details in interface, cable routing, brightness and touch control decide whether the screen can be reused in a real device.
This note is written as an OrigPanelKit selection guide rather than a copied article. Use it to shortlist display modules and prepare a cleaner RFQ.
Where this topic matters
Raspberry Pi Integration is most relevant when a Raspberry Pi screen has to move from a desk prototype into an enclosure, kiosk, vehicle terminal, handheld device or compact HMI.
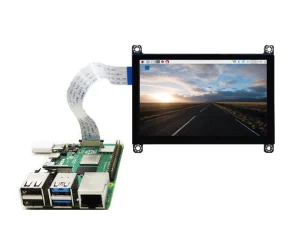
Integration Checks
Interface and platform fit
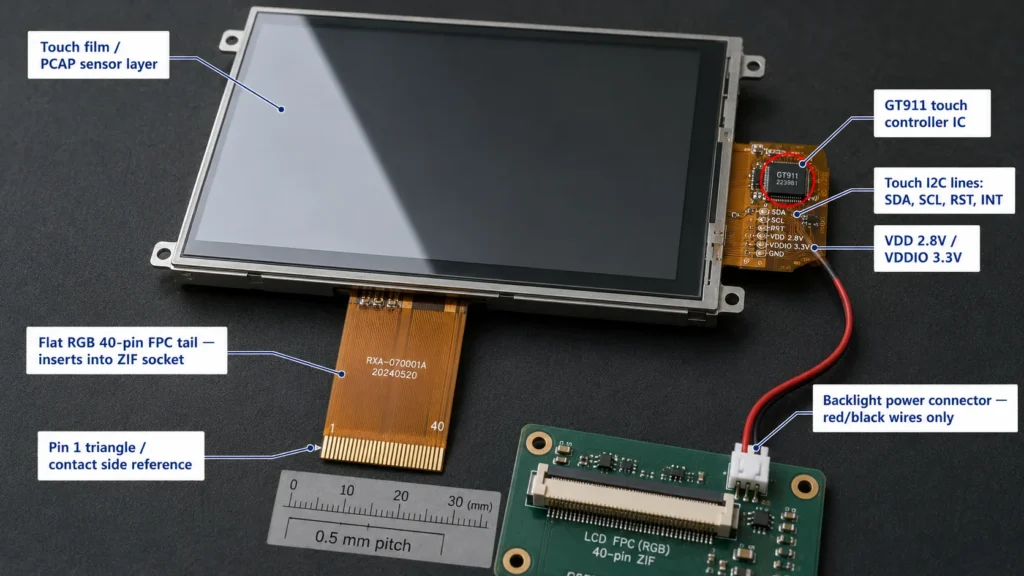
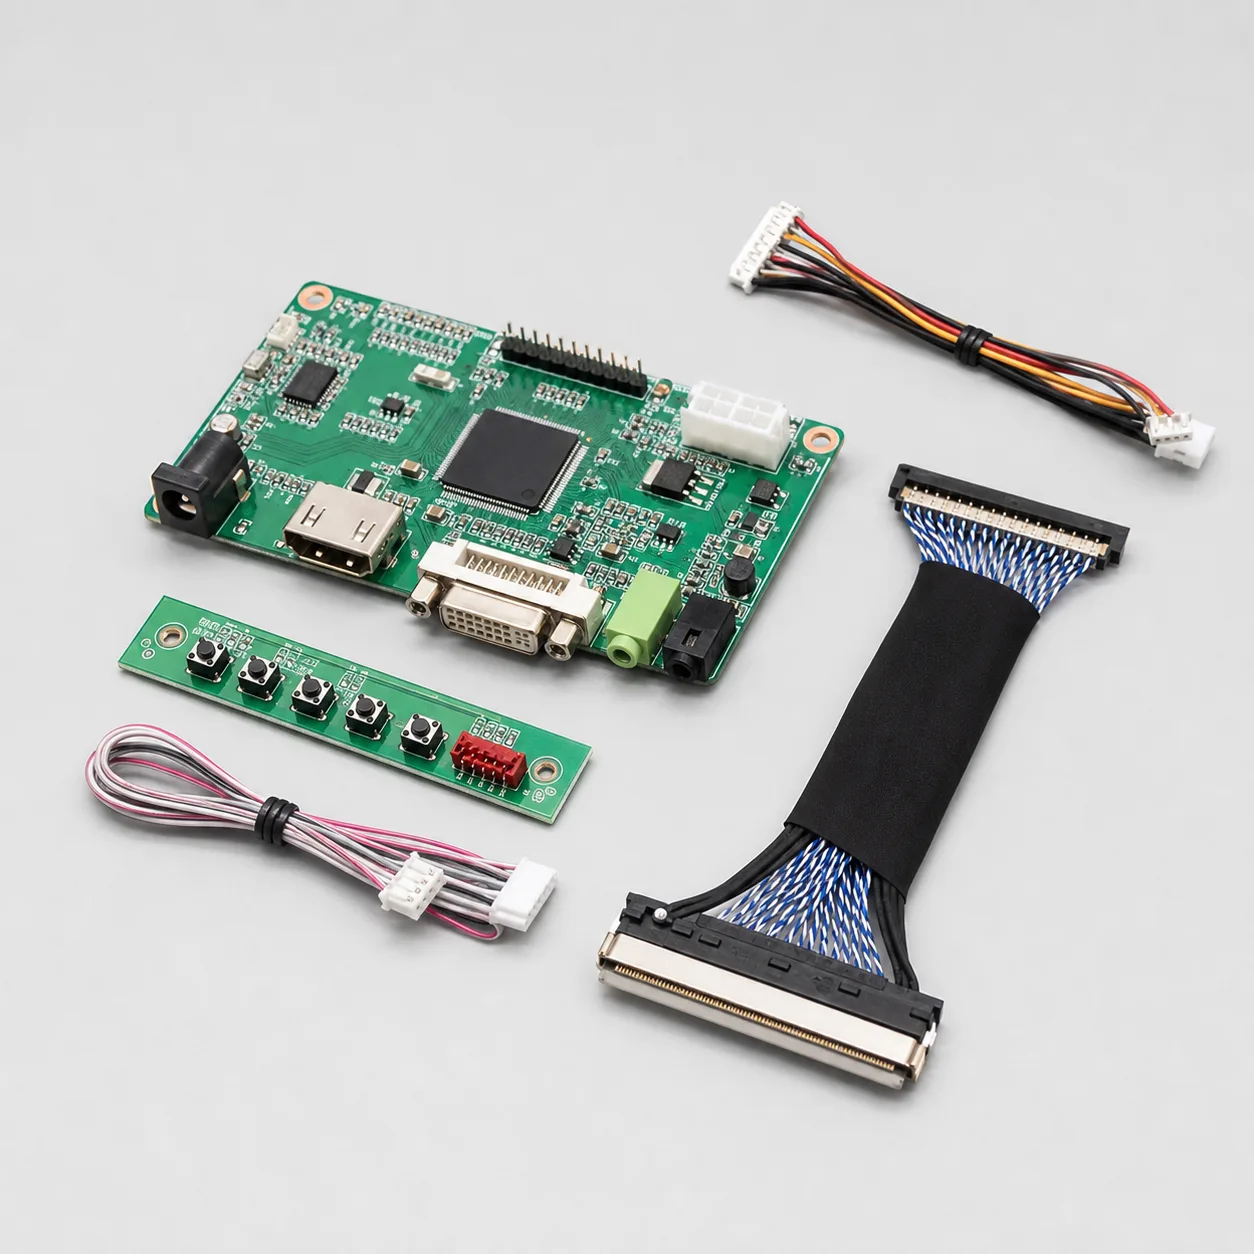
Confirm whether the project uses Raspberry Pi 4, CM4, CM5 or another board. DSI, HDMI, USB-C video and touch control use different cables, power paths and software assumptions.
Optical and mechanical requirements
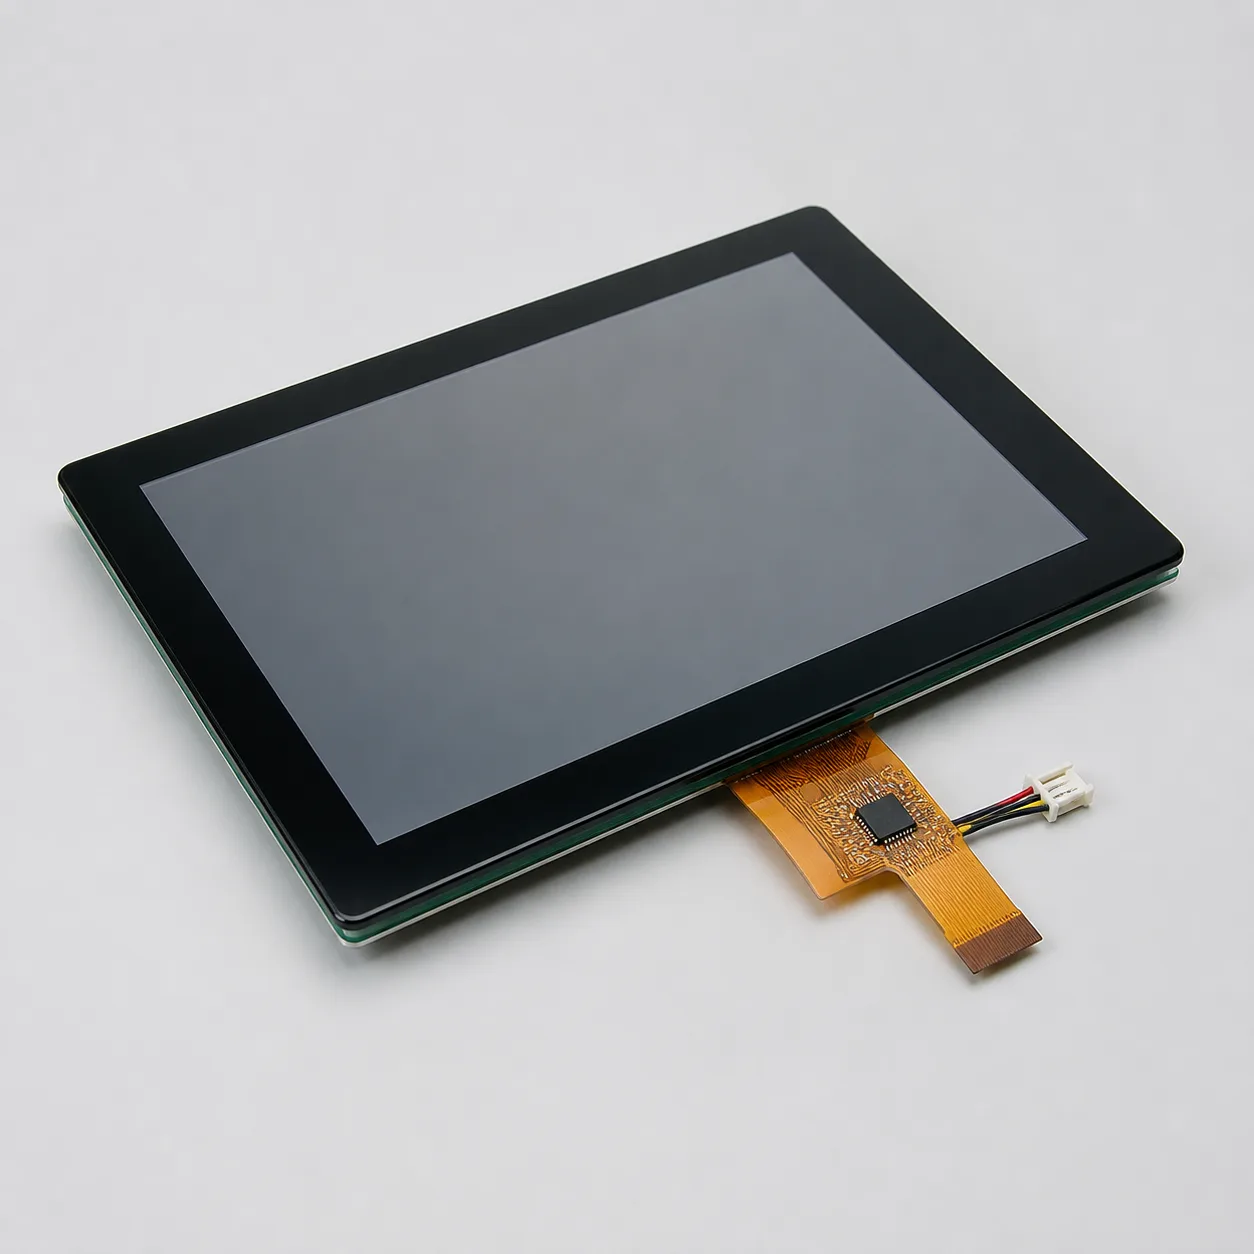
Check active area, cover lens size, viewing angle, target brightness, operating temperature and whether optical bonding or strengthened glass is needed.
RFQ data to collect
Send the screen size, resolution, interface, touch method, target quantity, application environment and any enclosure drawing before asking for a quotation.
Validation Notes
Sample before repeat orders
For repeatable sourcing, validate a sample with the exact Pi model, operating system image, cable orientation, mounting method and touch driver configuration.
OrigPanelKit can use this information to match a display, touch option, controller accessories and documentation path for small-batch projects.